Ever watched a movie and felt like you were transported into a whole new world just by the colors on the screen? That’s the magic of color grading! But what is color grading, you ask? Grab some popcorn and get comfy because we’re about to dive into the vibrant universe of video grading.
What is Color Grading?
Imagine baking a cake. You’ve got all your ingredients: Bread, eggs, flour and butter. Then you combine the two and bake the cake in the oven. But that is not all when you have baked it; what do you do? You don’t present it like this, right? Then you, of course, freeze it, cover it, perhaps even garnish it. The finishing touches that set off the cake and make it easy to crave? That is, in a nutshell, what color grading does for your video.
Color grading is the ability to adjust the colors of your video to a preferred look or feel in order to achieve the desired result. That’s like turning your video footage from ‘meh’ to ‘wow.’ The color grading enhances the tone and mood of your narrative, and whether you’re after a warm, whimsical feel or a strobe-lit horror flick, color grading is your one-stop-shop.
Why Color Grading Matters
Creating Mood and Atmosphere
Color grading also helps in creating the mood of a scene since one of its main goals is to determine the lighting of a scene. For example, a warm orange color can cause associations with flashbacks or romantic feelings, whereas a cold blue color can cause an association with tension or sorrow.
This includes such factors as the spectrum of the colors used in a Wes Anderson movie and the tempered colors of the dystopian thriller. These choices always affect the mood and the audience, as well as their association with what is being presented.
Enhancing Visual Storytelling
Intentional video coloring production can make the viewers pay attention to certain aspects, it can point out certain crucial themes and actions and make the attention of the audience be where the director wants it to be. Through tools like selective color grading, the editors ensure that they are pointing at specific objects or people and drawing the attention of the audience throughout the story.
Maintaining Consistency
The consistency of color grading guarantees viewership that is consistent due to the smooth transitions between scenes within the video, which is very useful when shooting in conditions where the picture from one camera must correlate with that shot from another camera or shot under different lighting conditions.
Step-by-Step Guide to Color Grading
Color grading is a multi-step process that transforms raw footage into a visually appealing and emotionally impactful video. Let’s break down the ways on how to color grading in detail, making it easy to follow and implement.

Step 1: Primary Color Correction
Balancing Exposure
- Launch your editing software (for example, DaVinci Resolve if you are filming in 10-bit Dolby Vision or Adobe Premiere Pro).
- Transfer your clips to the project where you will arrange them in a timeline.
- Locate the exposure controls. This might be under a section that is more like “Basic Correction” or “Primary Controls. “
- Change the brightness of the SHD (sharp highlight detail) and DNG (deep shadow detail) for a better balance between the highlights and shadows in order to avoid having pixels in a video signal with distorted luminance levels; use the waveform monitor in order to check for clipped highlights, and also for crushed shadows the same way as well.
Adjusting Contrast
- Find the contrast slider in the same section as the exposure controls.
- Increase the contrast to make the image pop. This enhances the difference between the darkest and lightest parts of the image.
- Fine-tune the contrast by adjusting the black and white points. This ensures that the darkest parts are truly black and the brightest parts are truly white.
Correcting White Balance
- Find the options related to white balance. These may be referred to as “Temperature” and “Tint .”
- Move the temperature slider as a way of correcting the color of light that is being emitted. Use blue to mute a warm image or use orange to boost a cool image.
- Slide the tint selector back and forth to eliminate green or magenta color tones. Neutralize magenta by moving towards green, green to reduce magenta, etc.
- If you are using a white balance picker tool, select an area of the image that is white or should be white or gray that is neutral to allow the white balance tool of the software to fix the problem.
Step 2: Secondary Color Correction
Enhancing Specific Areas
- Select the secondary color correction tool. This might be labeled as “Secondary Color,” “HSL Qualifier,” or “Power Window.”
- Choose the area or color you want to adjust. This can be done by selecting a color range (e.g., skin tones) or drawing a mask around a specific area.
- Make adjustments to the selected area. For skin tones, adjust the hue, saturation, and luminance to make them appear natural and flattering.
Altering Sky Color
- Select the sky using the secondary color correction tool.
- Adjust the hue to change the color of the sky. Make it bluer or add a sunset glow.
- Adjust saturation to make the sky color more vibrant.
- Adjust luminance to make the sky brighter or darker.
Adjusting Object Colors
- Select the object you want to adjust using the secondary color correction tool.
- Adjust the hue to change the object’s color.
- Adjust saturation to make the object’s color more or less intense.
- Adjust luminance to make the object brighter or darker.
Step 3: Creative Grading
Applying LUTs (Look-Up Tables)
- Locate the LUTs section in your software. This might be under “Creative” or “Look” settings.
- Browse and select a LUT that fits the desired style. LUTs can give your footage a specific cinematic look or emulate the color grading of popular films.
- Apply the LUT to your footage. Adjust the intensity if the effect is too strong or too subtle.
Adjusting Hues
- Go to the HSL sliders or curves. These controls let you adjust the hue, saturation, and luminance for specific colors.
- Select the hue control for the color you want to adjust.
- Shift the hue to change the color. For example, make greens more yellow or blues more cyan.
Playing with Saturation Levels
- Locate the saturation controls.
- Increase overall saturation to make all colors more vibrant.
- Decrease overall saturation for a more muted, desaturated look.
- Adjust individual colors for selective saturation changes. For instance, make only the reds more saturated while keeping other colors the same.
Step 4: Final Adjustments
Ensuring Consistency
- Review your entire timeline. Play through the footage to ensure consistent color grading across all clips.
- Match color between shots. If two shots look different, use your color grading tools to match their exposure, contrast, and color.
Polishing the Look
- Make small tweaks. Fine-tune the exposure, contrast, white balance, and saturation to perfect the look.
- Check for any issues like color casts, overly bright or dark areas, and unnatural colors.
- Render and export your final video. Make sure to watch the entire exported video to confirm everything looks as intended.
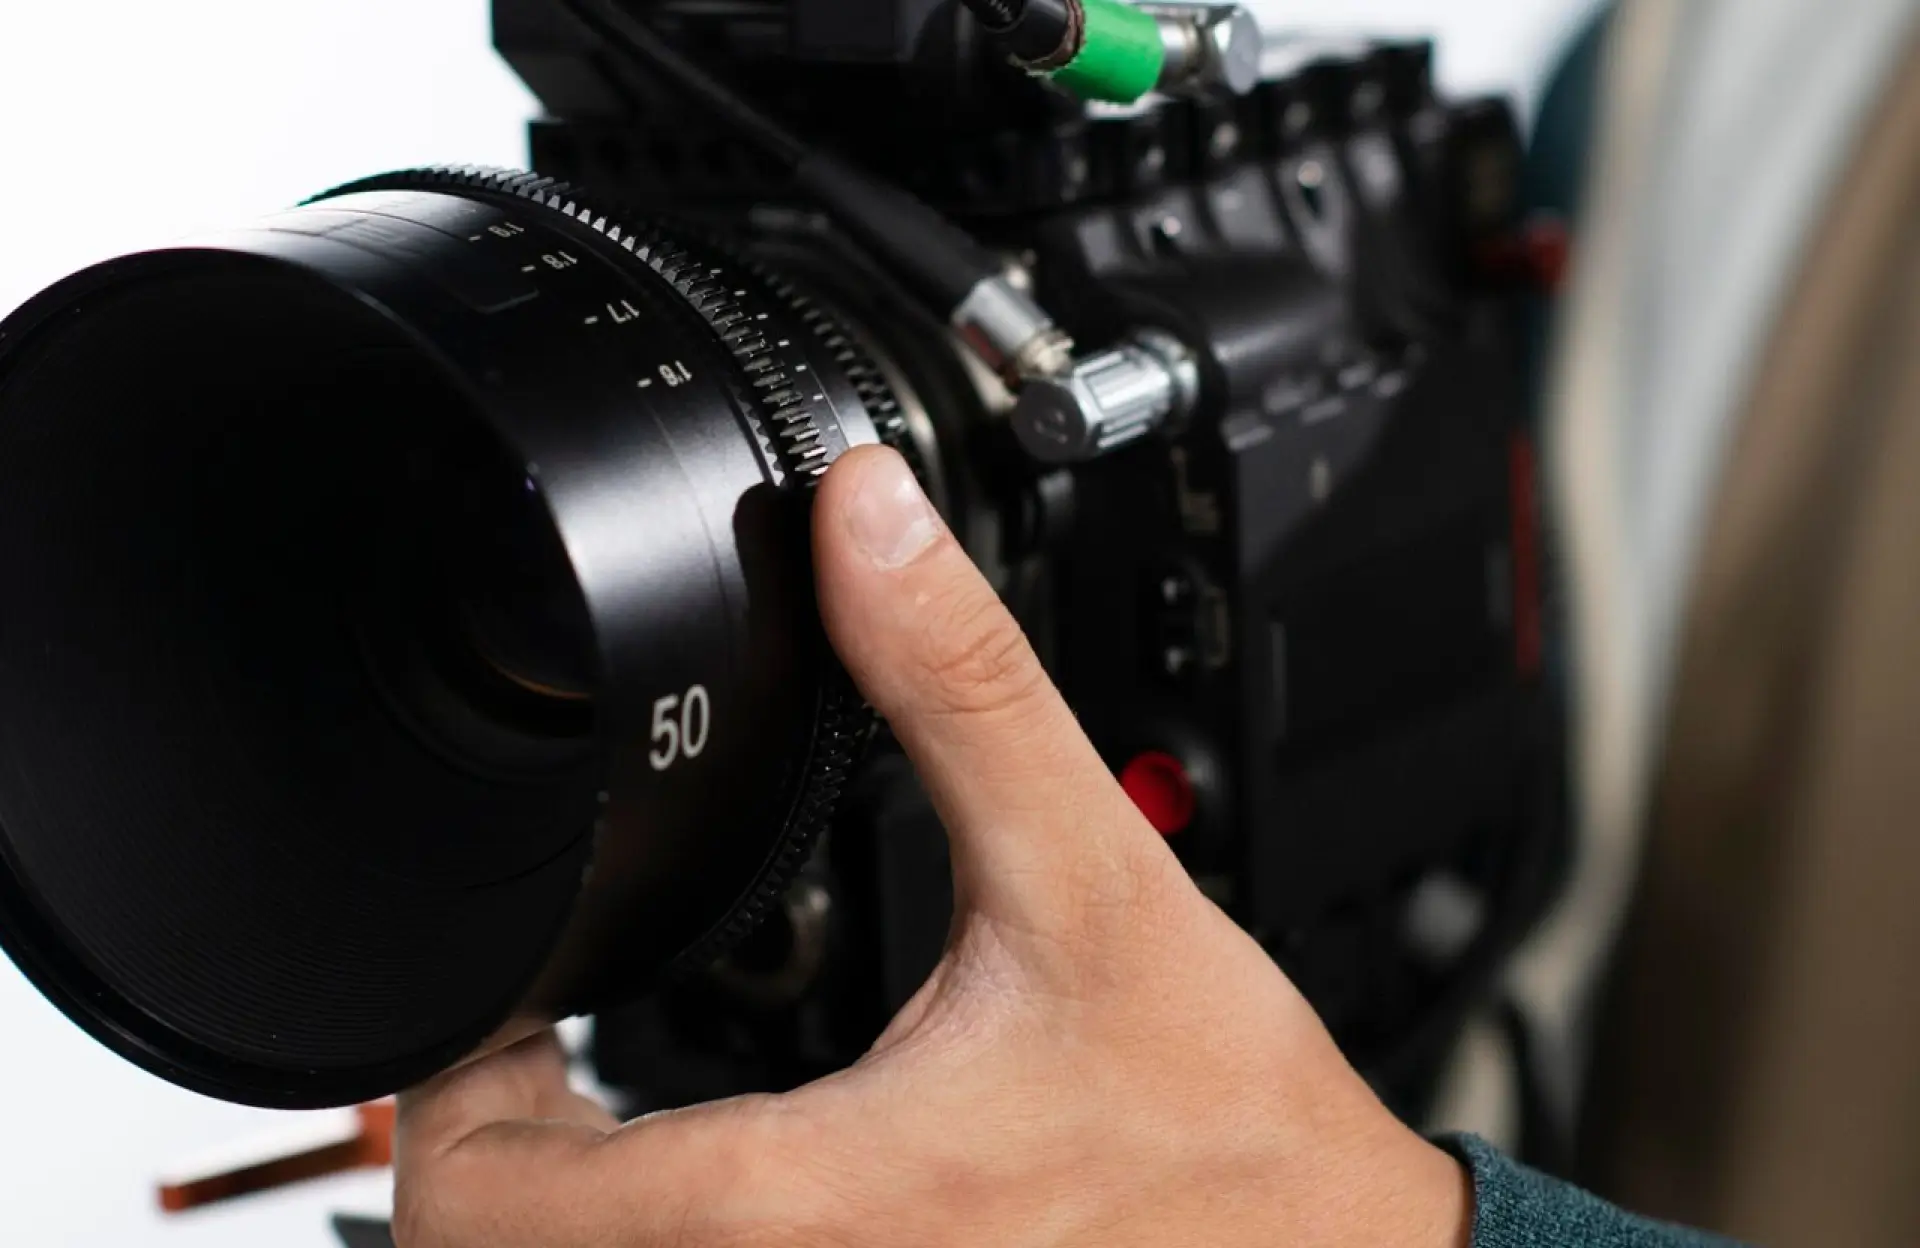
Color Grading Tools
Color grading services provided by FX Productions Canada are great, and the equipment utilized by our experts belongs to the latest generation. This includes:
- DaVinci Resolve: Designed for the professional, this tool has often received an accolade for grading and supported features accredited to filmmakers.
- Adobe Premiere Pro: As it is very versatile and friendly and also interacts with other Adobe products very well, it fits all categories of users, starting from the newcomer to the professional editor.
- Final Cut Pro: Final Cut Pro is an application that operates on Mac devices; it offers numerous options to color grade; in addition, it provides an easy to navigate interface.
Why use the services of FX Productions Canada
Whenever you bring your business to FX Productions Canada, you get the services of a dedicated team with a lot of ardor for amazing output. Their superior formalized technology and advanced procedures guarantee that your video projects are distinctive from competitors. Whether it is a TV advertisement or a music video clip, a corporate movie or YouTube channel, business entertainment, or a training video, we offer excellent, engaging work.
Final Thoughts
Color grading has been highlighted as a vital stage in the creation of videos, which, if well done, would significantly enhance the feelings of the viewers. Hence, understanding the task that color grading comprises and how the respective color grading process should be performed, one is in a position to achieve impressive quality images that will instigate positive impacts toward the intended audience.
If you are serious about the advancement of the videos of your choice, then the article was ideal to go through. Get to know about FX Productions Canada and how we can help you achieve your preferred artistically pleasing results today.